
I wanted LED teardrops. Apparently, they don't make them. I guess building hot rods all my life has made me look outside of the box, so that's what I did.


That's better.
Now, in order to get the lens over to fit, you will have to grind a little off of the LED base. I used the old trusty shop grinder.

Now, before I get all of the hate mail from the shop teachers telling me that I shouldn't grind the plastic on the grinder wheel because, you had a one eyed Uncle that lost his eye in a terrible grinder explosion ..........please be aware of this...........

We run with scissors, too. I also drink from the milk carton and cut off those pesky mattress tags, too. Pretty much a full blown rebel.

After grinding, with both eyes intact, I trial fitted the LED to the new base. Then I drilled the mount holes to mount the LED to the base.

I needed to dimple the countersunk screw, so it wouldn't interfere with the fit. I used a 5/16 socket, the screw and a vise.

Tighten it up a tad and you have a countersunk hole. The aluminum is so soft, it's a snap.


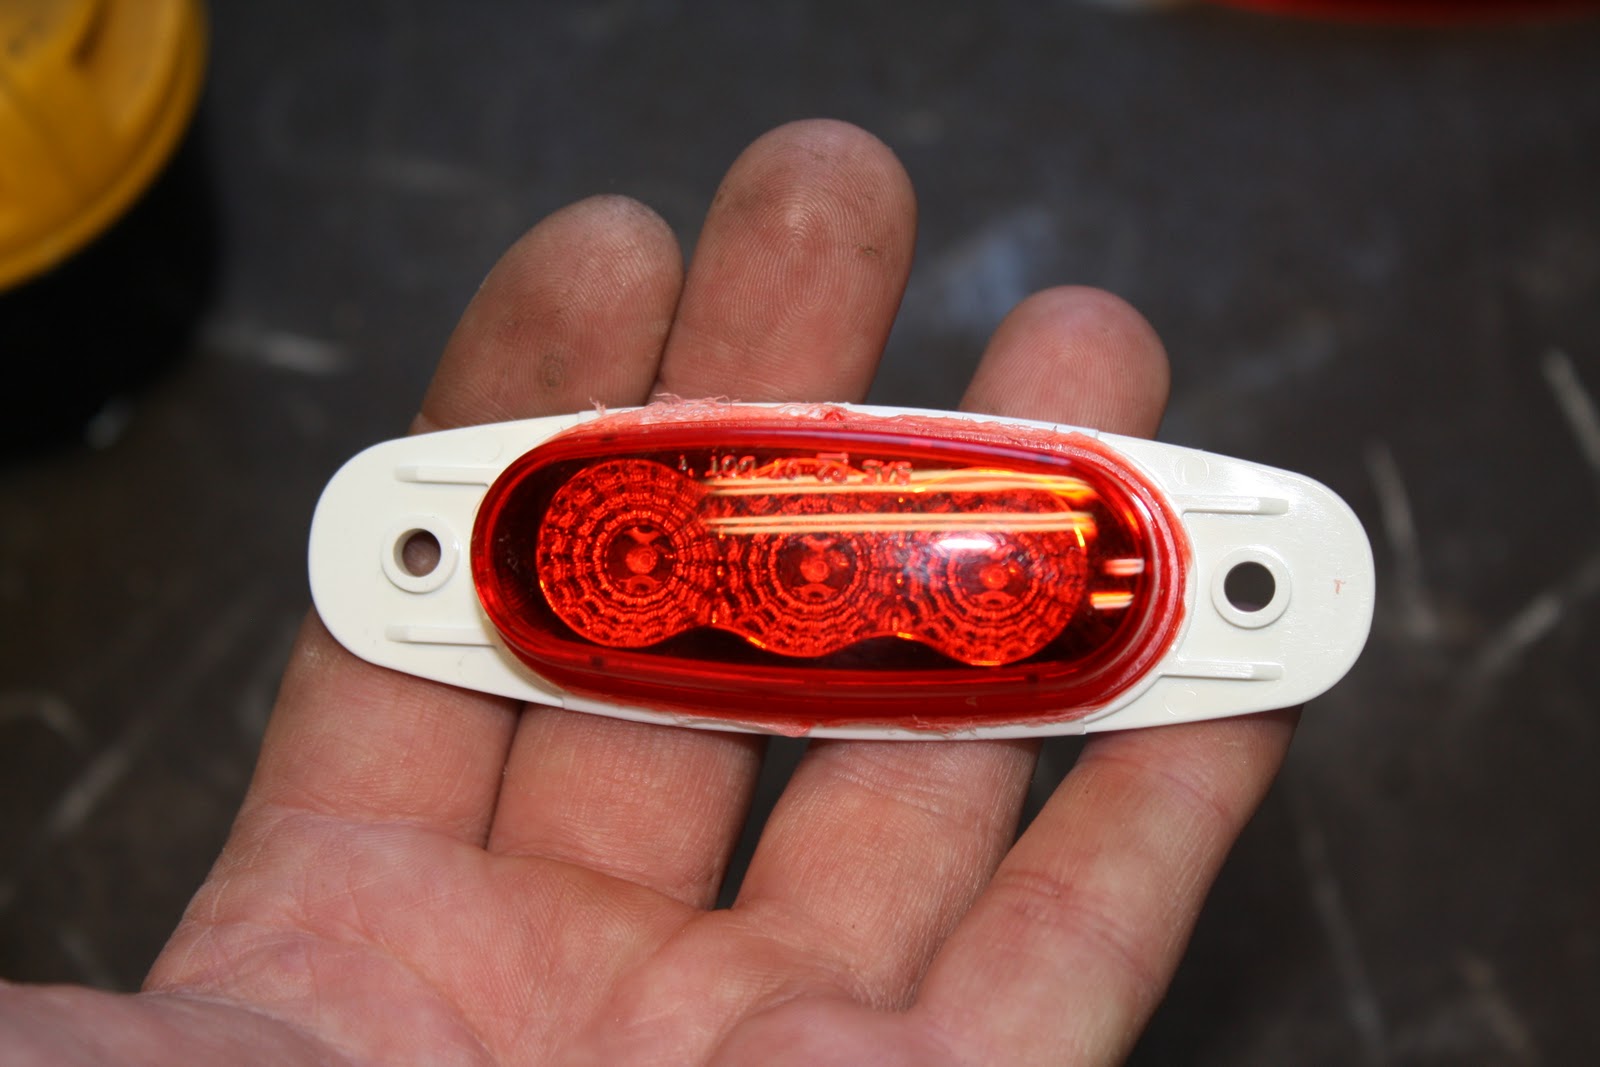
I mounted the LED and then I ran a bead of clear silicone around the outside edge. I also dabbed a small spot where the mount screw used to be.
As cheesy as this sounds, this is what is going to hold the lens cover on. The LED is a sealed unit and there are no bulbs to change , so you shouldn't need to get in anytime soon. Plus, the replacement lens covers are only .89 cents, so live life on the edge.

I hooked it up to my 12V battery charger to see how it looked all lit up. These are drying, so installation will have to come at a later date.