
I tend to over thing and over-engineer my stuff, but nothing sucks worst than being on the side of the road in the middle of nowhere. So, I tend to err to the side of caution. I want to try and eliminate as much of the unnecessary heat that builds up while towing.
I started on the last entry with the deep pan. That adds about 3 qts of fluid, which will give more capacity to carry the heat away from the transmission.

Next is the cooler itself .

I looked for a place to mount this cooler up front. The problem is a real estate issue. There is only so much room available, so I had to pick what I wanted up front. I'm not a fan of installing anything in front of the radiator, but with the new R134 systems, keeping airflow moving is key, so the A/C condenser won out. I wanted airflow while I was moving, so I started looking…I wanted it away from the floor boards, so the heat wouldn't transfer to the passengers feet. I finally settled on an area below the cargo bay floor. It's not ideal, but if we are pulling our little trailer through the mountains, air will be moving across it.

I decided I needed a way to mount it to the bottom of the floor, without using sheet metal screws or bolts, since it is falling under the rear cargo mat. I didn't want to have to have someone inside holding a wrench while I installed it.

I decided to hit up a buddy to borrow his rivnut gun. This basically works for of like a pop rivet gun, but it installs a threaded insert instead.

Here's the rivnut before it gets pulled.

I attempted to take pics after installation, but the flash made it kind of hard to see.

There was an existing rib underneath that I picked up. This spaced it off the floor approx. 1.5", which allows air to flow through. I built some spacers for the rear to match the front. After I built them, I found some in the hardware bin at Lowes for about 2 bucks. I'll just buy them next time.
Next, I needed to plumb it. I didn't want 10 feet of rubber hose to worry about on the bottom side of the car, so I ordered a roll of 25' of -6 (3/8") aluminum line from Summit Racing. It's what they call dead soft aluminum, basically it has never been heat treated to give it a hardness. It makes it very malleable and easy to work with. I use it on tranny cooling lines and fuel lines.

You can use this little tubing cutter to cut the tubing. It's really quick and easy.


A picture of it looking forward from the rear of the car.

I decided to make the flexible portion of the line out of Push-Lok hose made by Parker hose. The have a special hose and fittings that you can just push on and no clamping is required. It sounds too good to be true, but it works well. I use them on my race car and NHRA approves them.


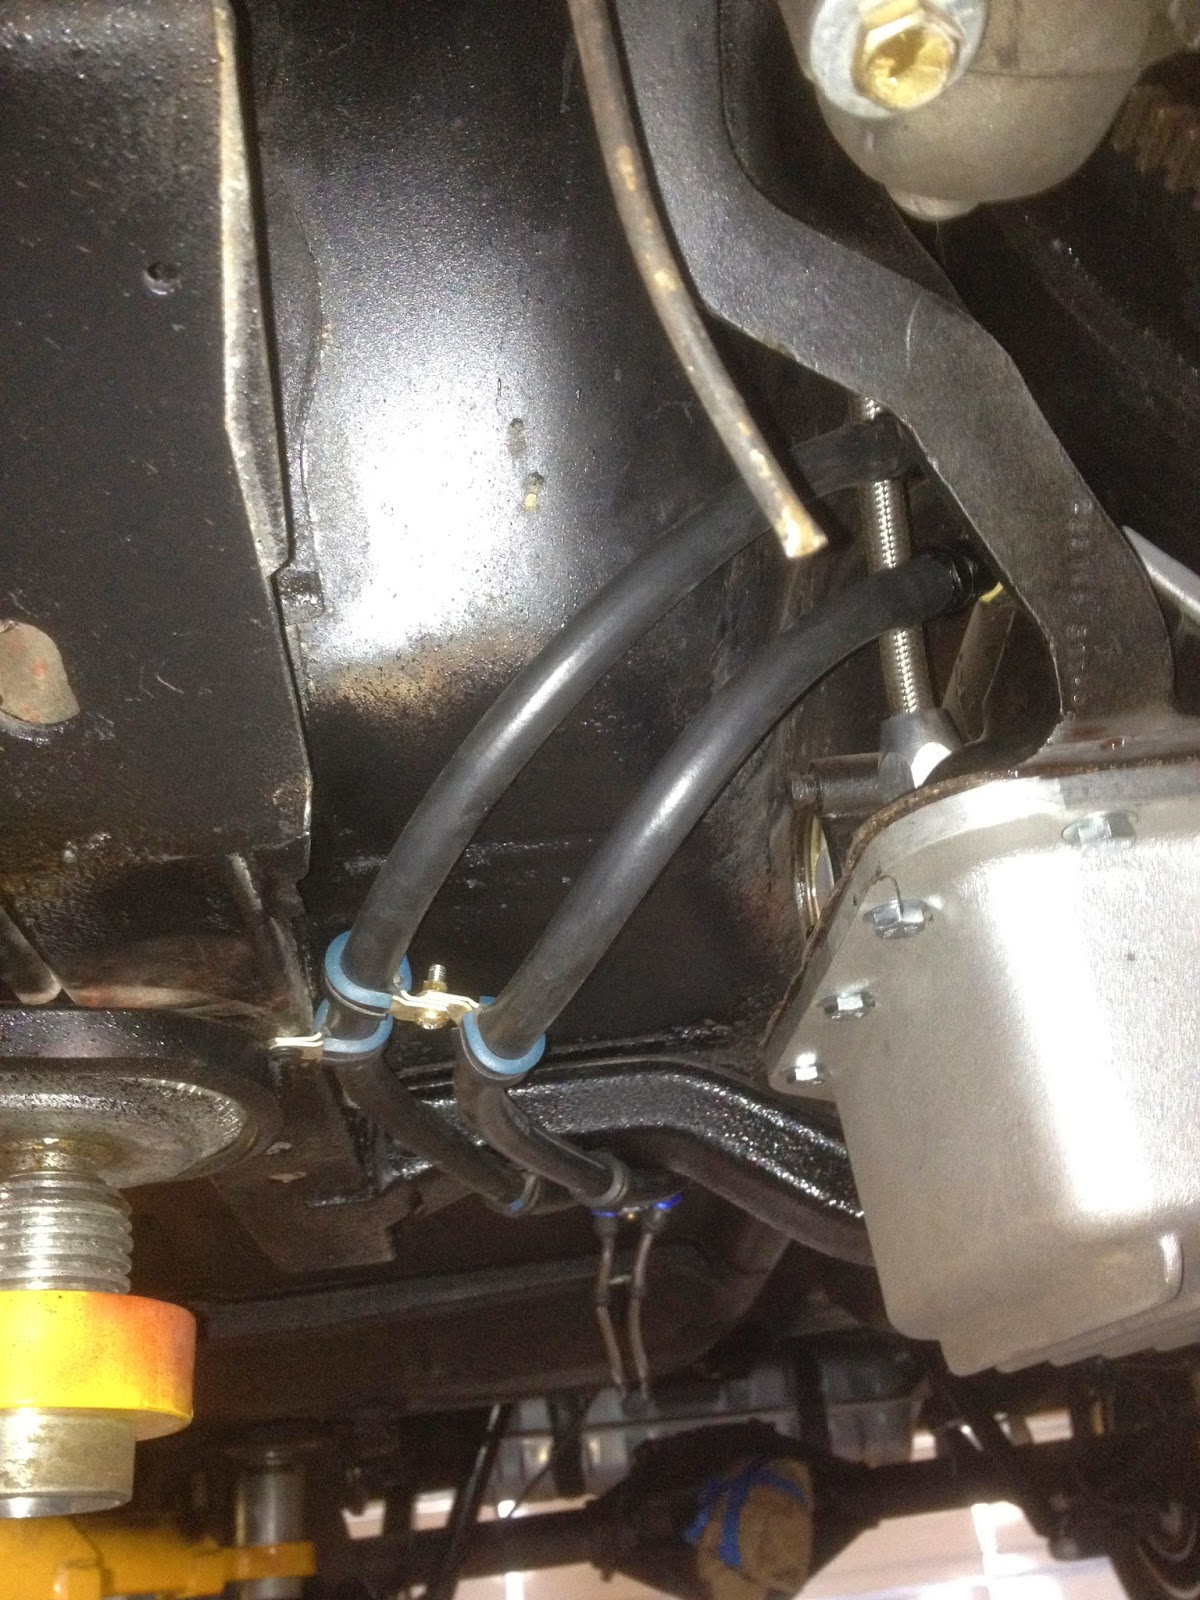
I used Adel clamps, butterflied together to give me adequate spacing all the way too the back of the car.

If you are wondering about the wad taped to the pinion yoke, I got tired of hitting my head on it.

After 15 times, I figured I should do something.
One more thing to check off the list.
Now, if it will just not leak……...
No comments:
Post a Comment